

Hey there, folks! As a supplier of Mini Relays, I often get asked about how to test these little but mighty components. Today, I'm gonna share some tips and tricks on testing Mini Relays.
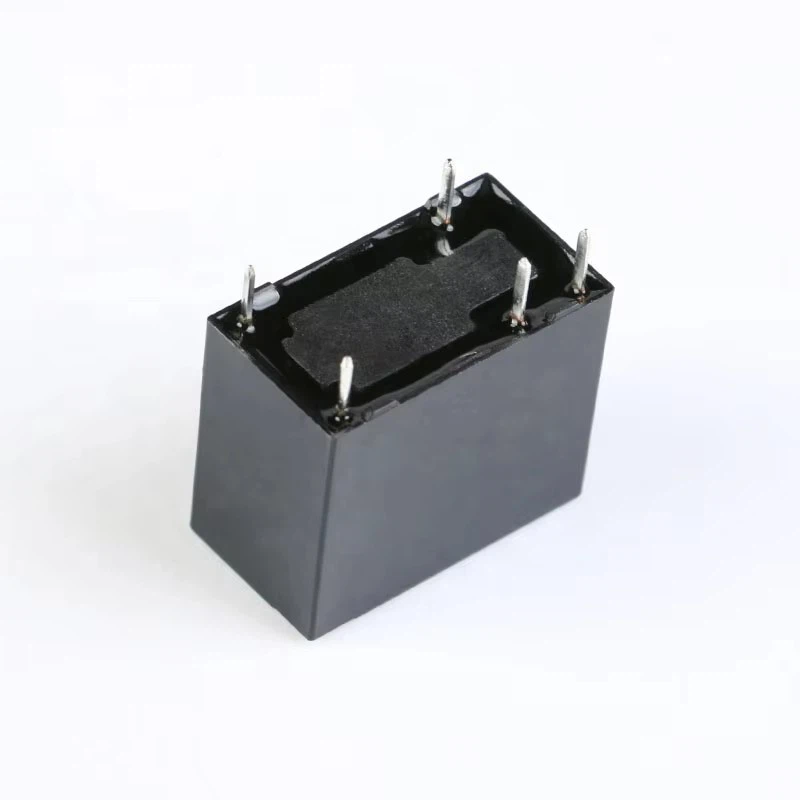
Let's start with the basics. A Mini Relay is an electromagnetic switch that can control a high - power circuit using a low - power signal. They're used in all sorts of applications, from automotive electronics to home appliances. First up, we've got the Mini Relay 5v, which is super common in low - voltage applications.
Visual Inspection
The first step in testing a Mini Relay is a good old - fashioned visual inspection. Take a close look at the relay. Check for any obvious signs of damage like cracked casings, burnt terminals, or loose wires. If you see any of these issues, it's likely the relay is no good and should be replaced. A damaged relay can not only malfunction but also pose a safety risk, especially in high - power applications.
Testing the Coil Resistance
The coil is the heart of the relay. It creates the magnetic field that activates the switch. To test the coil, you'll need a multimeter. Set your multimeter to the resistance (ohms) setting. Connect the probes to the coil terminals of the relay.
For a 20a Relay 5 Pin, you should get a specific resistance value. The resistance value can vary depending on the relay's design and specifications. If the multimeter shows infinite resistance, it means the coil is open - circuited, and the relay is probably bad. On the other hand, if the resistance is very close to zero, it could indicate a short - circuit in the coil.
Checking the Contact Resistance
Next, we'll check the contact resistance. This is important because the relay's contacts are what actually make or break the electrical circuit. First, make sure the relay is de - energized. Set your multimeter to the resistance setting again.
Connect the probes to the normally open (NO) or normally closed (NC) contacts, depending on your test requirements. For an un - energized relay, the resistance between the NO contacts should be very high (ideally infinite). If it's low, there's a problem with the contacts. When you energize the relay, the resistance between the NO contacts should drop to near zero.

Testing the Pull - In and Drop - Out Voltages
The pull - in voltage is the minimum voltage required to activate the relay, and the drop - out voltage is the maximum voltage at which the relay will de - activate. To test these, you'll need a variable power supply and a voltmeter.
Connect the power supply to the relay's coil. Start with a low voltage and slowly increase it. Watch the relay's contacts. When the contacts change state, note the voltage on the voltmeter. That's the pull - in voltage.
To test the drop - out voltage, slowly decrease the voltage from a level higher than the pull - in voltage. When the contacts return to their original state, note the voltage. This gives you the drop - out voltage. For a 12v Subminiature Relay, the pull - in and drop - out voltages should be within a certain range specified by the manufacturer.
Using a Relay Tester
If you do a lot of relay testing, investing in a relay tester can be a great idea. A relay tester can automate many of the testing steps we've just talked about. It can quickly measure the coil resistance, contact resistance, pull - in, and drop - out voltages. Some advanced relay testers can even detect intermittent faults that might not be obvious during a manual test.
Functional Testing in a Circuit
Finally, it's a good idea to test the relay in a real - world circuit. This will give you a better idea of how the relay performs under actual operating conditions. Connect the relay to a circuit that it's designed to work in. Apply the appropriate input signals and check if the relay switches the output circuit as expected.
If you're having trouble with a particular relay, it could be due to a variety of factors. Maybe the power supply is not providing the correct voltage, or there's a problem with the wiring in the circuit. Double - check all the connections and make sure the power supply is stable.
In conclusion, testing Mini Relays is not as complicated as it might seem. By following these simple steps, you can quickly determine if a relay is working properly or if it needs to be replaced. Whether you're a hobbyist working on a small project or a professional in the electronics industry, knowing how to test Mini Relays is a valuable skill.
If you're in the market for high - quality Mini Relays, we've got you covered. We offer a wide range of Mini Relays, including the Mini Relay 5v, 20a Relay 5 Pin, and 12v Subminiature Relay. If you have any questions or want to discuss your specific requirements for purchasing Mini Relays, feel free to reach out and start a conversation with us.
References:
- Electronics textbooks on basic circuit components
- Manufacturer's datasheets for Mini Relays