


You use relays every day, but do you know how they last so long? The relay production process has careful steps to keep them strong and safe. Every part, like making the coil or checking at the end, is important. Makers use smart testing systems to get good data and stop problems. This helps relays work better and break less often.
|
Step |
Impact on Reliability |
|---|---|
|
Quality Control Measures |
Make the product work better |
|
Intelligent Testing |
Find and stop problems early |
|
Failure Rate Analysis |
Help relay protection devices work longer |
Key Takeaways
A good design is very important for reliable relays. It helps stop problems from happening later in production.
Picking the right materials changes how well the relay works and how long it lasts. Metals and plastics are very important for making relays work well.
Careful assembly makes sure all the parts fit and work together. This step is very important for how the relay works.
Testing at every step helps find problems early. This makes relays safe and work well for people.
Final quality checks make sure relays are safe to use. These checks help customers trust and like the product.
Process overview
The relay production process starts with planning. It ends with testing. Each step helps make relays work well. Each step also helps relays last longer.
Design phase
You start with the design phase. Engineers decide how the relay should work. They choose what the relay needs to handle. They look at voltage and current. They check how fast the relay must switch. They think about the size and power use. They also look at where the relay will work. These choices make the relay strong. These choices help the relay stay reliable.
Tip: Good design stops problems later in the relay production process.
Here are some important design points:
Voltage and current ratings
Load type
Switching speed
Size limits
Power use
Environmental factors
See more details in the table below:
|
Consideration |
Description |
|---|---|
|
Rated Voltage |
Highest voltage the relay can handle safely. |
|
Rated Current |
Most current the relay can pass without damage. |
|
Power Parameter |
Shows how much energy the relay uses. |
|
Open Circuit Voltage Drop |
Measures energy loss when the relay is open. |
|
Current Tolerance |
Handles overloads or short circuits. |
|
Contact Material and Structure |
Helps lower energy loss and boost efficiency. |
|
Thermal Protection Mechanism |
Keeps the relay safe during bad conditions. |
Material selection
Next, you pick the right materials. The materials you choose affect how well the relay works. They also affect how long it lasts. Metals like silver nickel and silver tin oxide help the relay conduct electricity. These metals also resist wear. Plastics like polycarbonate give insulation. They protect the relay from heat and impact.
|
Material |
Characteristics |
Applications |
Drawbacks |
|---|---|---|---|
|
Silver Nickel (AgNi) |
Good conductivity and strong |
General-purpose relays |
Oxidizes at high temperatures |
|
Silver Tin Oxide (AgSnO₂) |
Resists welding |
High peak current circuits |
Wears under DC loads |
|
Tungsten (W) |
High resistance to welding |
High-power applications |
Expensive, less conductive |
|
Gold Plating |
Low-resistance connections |
Low-power relay contacts |
Wears off after many cycles |
The right material gives the relay good electrical performance. It keeps the relay safe from damage. Thermoplastics offer good insulation and resist impact. Metals like brass keep contact resistance low. Each choice helps the relay stay reliable and safe.
Note: Careful material selection means fewer failures and longer relay life.
Relay production process
Coil winding
The relay production process starts with winding the coil. The coil makes a magnetic field that moves the relay contacts. There are different ways to wind the coil for each relay type.
Wild coil winding is good for making many relays fast.
Helical coil winding makes a spiral and works for low-voltage relays.
Orthocyclical coil winding packs wire tightly to save space and work well.
Sandwich coil winding stacks layers for high and low voltage, mostly used in transformers.
Special machines help wind coils quickly and correctly. These machines can work with many pin shapes and bend pins at different angles. You can change them for pin length and groove spot. Some machines stop if the wire breaks or runs out. There are solenoid coil automatic winding machines that wind and cover the coil in one step. For big batches, you use semi-automatic or automatic multispindle winding machines.
|
Feature |
Description |
|---|---|
|
Body Inclination |
30 degrees helps move materials easily |
|
Versatility |
Changes types fast with special parts |
|
Applicable Pins |
Works with round, corner, and flat pins |
|
Pin Insertion |
Can put in up to 20 pins at once |
|
Adjustability |
Easy to change pin length and groove spot |
|
Automatic Detection |
Stops if wire is gone or broken |
|
Pin Bending |
Bends pins from 0 to 90 degrees |
|
Production Line Compatibility |
Works with custom production lines |
Tip: Winding the coil right helps the relay last longer and work well.
Contact fabrication
Next, you make the contacts. Contacts carry electric current when the relay switches. You pick the contact material for the relay's job. Silver nickel works great for signal control systems. Palladium alloy is good for communication devices. Silver cadmium oxide handles high currents in factories. Silver copper nickel fits heavy-duty machines.
|
Material |
High-Frequency Performance |
High-Load Performance |
Recommendation |
|---|---|---|---|
|
Silver Nickel |
Excellent |
Moderate |
Signal control systems |
|
Palladium Alloy |
Excellent |
Weak |
Communication devices |
|
Silver Cadmium Oxide |
Average |
Outstanding |
Industrial high-current use |
|
Silver Copper Nickel |
Average |
Good |
Heavy-duty equipment |
You shape and polish contacts to lower resistance and stop wear. Machines cut, stamp, and plate the contacts. You check the surface for smoothness and thickness. Good contact making helps the relay switch fast and safely.
Assembly
Now you put the coil and contacts together carefully. Automated winding machines and alignment jigs help keep parts in the right spot. You secure all parts so the relay works smoothly.
You must check if the coil works right. Use a multimeter to test for continuity between relay terminals. When you power the coil, the normally open contacts close and the normally closed contacts open. This test shows the relay switches as it should.
Note: Careful assembly stops problems and keeps the relay working well.
Housing
The last step is adding the housing. The housing protects inside parts from damage. It insulates the relay and keeps out moisture, dust, and dirt. The housing also keeps you safe when using the relay in high-voltage circuits.
Insulation protects the coil and contacts.
The housing blocks moisture and dust.
You stay safe even with high voltage.
Strong plastics or metals are used for the housing. The housing is sealed tight to stop leaks. Good housing helps the relay last a long time.
Testing flow
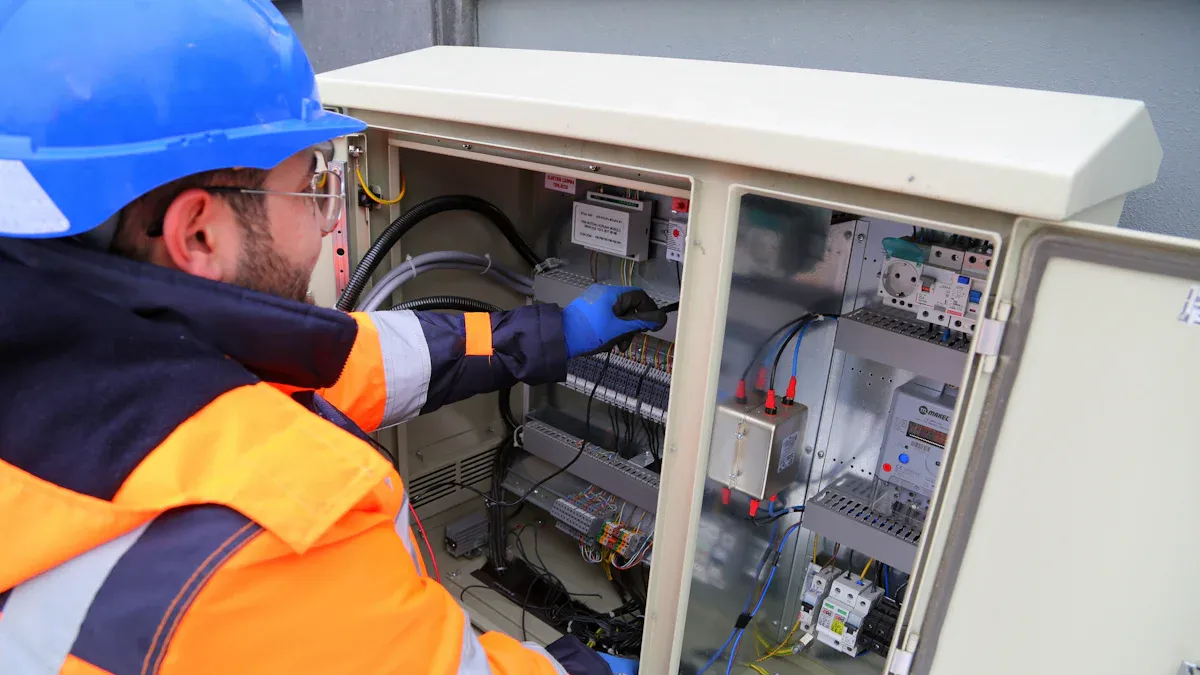
After making relays, you need to test each one. Testing makes sure the relay works well and lasts long. There are many steps in testing. Each step checks a different part of the relay. You do routine, type, and commissioning tests before selling any relay. These tests include inspection, documentation, functional testing, trip circuit testing, communication checks, and final reports. Testing in many stages helps you find problems early. This keeps relays working well.
Visual inspection
First, you look closely at the relay. Visual inspection helps you find common problems before harder tests.
Check for damage you can see, like burnt or melted housing, burnt or rusty terminals, cracks, burn marks, and melted plastic.
Look for signs of overheating or odd smells. These can mean too much current or heat.
Use bright lights and a magnifying glass to see small things.
Look at the contacts for burns or rust. Clean or change them if needed.
Visual inspection is an old way to find problems in making relays. Sometimes people miss things or make mistakes. Automated systems can help find problems better and more often. Some factories use smart inspection systems to spot leaks or sort defect patterns very well.
Tip: Most relay failures happen because of physical damage, seal issues, loose terminals, or bent relay cases.
Electrical testing
Next, you test how the relay works with electricity. You measure important things to make sure the relay works right.
Current accuracy test: Put in a known current and see if the relay measures it right.
Voltage accuracy test: Use a known voltage and check if the relay reads it correctly.
Time accuracy test: See how fast the relay trips compared to its rated time.
Electrical testing helps you find problems with switching and measuring. If the relay fails these tests, it may not protect circuits or devices.
Mechanical testing
You also test the relay's moving parts. This step checks if the relay can handle movement, pressure, and wear.
Look for cracks or loose parts.
Take off the relay cover and check the gasket.
Check if the frame is tight and clean the covers and glass.
Remove the relay assembly and short circuit the CT terminals for safety.
Open all trip circuits and clean out dust or metal bits.
Blow away dust with a hand syringe.
Clean rust from the magnet poles or disc.
Check the gap and make sure the disc does not rub.
Look for moisture and loose wires.
Make sure bearings move smoothly.
Manually check if targets move as they should.
Check the relay coil for high currents.
Clean all parts that touch during normal use.
Mechanical testing helps you find problems that could stop the relay from working, like stuck parts or loose wires.
Final quality checks
Before sending the relay out, you do final checks. These checks make sure every relay meets standards and works as promised.
|
Criteria |
Description |
|---|---|
|
Measurements & Specs |
Check size, weight, materials, and parts. |
|
Functionality |
Test if the relay works as needed. |
|
Compliance |
Make sure the relay meets safety and legal rules. |
|
Packaging & Labeling |
Check sender and receiver info, barcodes, model and serial numbers, safety marks. |
|
Documentation Record |
Look at past inspection reports, note problems, and sign off on pass or fail. |
Final checks lower the chance of returns or failures after customers get the relay. Careful testing, like unit and integration tests, helps you find and fix problems before shipping. This step is important for keeping customers happy and building trust.
You have learned that every step in making and testing a relay is important. Good design, picking the right materials, and putting parts together carefully help relays work longer. Careful testing makes people trust the product and keeps them happy.
Careful work helps relays last longer and work better.
Making relays must follow safety rules and work in hard places.
Good quality checks can help keep more customers and make them happier.
Solid-state relays work for a long time and do not need much fixing.
Now you know that making relays takes skill and lots of care.
FAQ
What does a relay do in an electrical circuit?
A relay works like a switch. It turns circuits on or off with electricity. You can use small signals to control big currents. Relays help protect devices. They also make systems safer.
How often should you test relays?
Test relays before you use them. Test them during regular maintenance too. Many experts say to check them once a year. Testing helps you find problems early. It keeps your equipment safe.
Why do relays fail?
Relays can fail for different reasons. Worn contacts are a common cause. Coil damage or dirt inside the housing can also cause problems. Overheating and moisture are other issues. Regular checks help you find these problems.
Can you repair a broken relay?
You can fix some relays by cleaning contacts. You can also replace small parts. If the coil or housing breaks, you need a new relay. Always follow safety rules when working with relays.
What is the difference between a solid-state relay and an electromechanical relay?
|
Type |
Moving Parts |
Lifespan |
Use Case |
|---|---|---|---|
|
Solid-State Relay |
No |
Very Long |
Fast, silent switching |
|
Electromechanical Relay |
Yes |
Shorter |
Heavy-duty switching |
Tip: Use solid-state relays for quiet and long-lasting jobs. Pick electromechanical relays for high-power work.
See also
Top 10 Solid State Relay Manufacturers
PCB relay manufacturer you can trust for safe devices
What Makes Solid-State Relays a Smart Choice
Installation of Solid State Relays: Complete Setup & Care Guide 2025